
If you’ve ever felt like your PC was gasping for air while trying to run a modern game or edit a simple video, this is the fix you’ve been looking for.
This guide breaks down the physical side of installing a graphics card, from cracking open your case to getting those all-important drivers running.
Even if you’ve never seen the inside of a computer before, these steps will help you unlock smooth 4K performance without paying a pro to do it for you.
What Exactly Is a GPU?
Think of your computer like a busy office.
The CPU is the manager; it handles the emails, the spreadsheets, and the big-picture scheduling.
But when it’s time to paint a massive, hyper-realistic mural, the manager gets overwhelmed.
That’s where the GPU (Graphics Processing Unit) comes in. It’s a specialist that only cares about three things: pictures, colors, and motion.
While most computers have basic graphics built into the “manager” (the CPU), they usually struggle with modern tasks.
Adding a dedicated card is like hiring a professional artist for your office, suddenly, everything visually looks incredible.
Real-Life Perks You’ll Actually Notice:
- No More Lag: Your games will finally stop “hiccuping” during intense moments.
- Crisp Details: Everything from 4K movies to high-res photos will look sharper.
- Zero Wait Time: Video rendering and 3D design tasks that used to take an hour might now take minutes.
The Pre-Game Check: Will It Fit?
You wouldn’t buy a king-sized mattress for a tiny studio apartment without measuring the door first.
Modern cards are getting bigger and hungrier for power, so you need to check three things before you buy.
| What to Check | Why It Matters | How to Check It |
| Case Space | Some cards are very long and thick. | Use a tape measure to see the distance from the back to the front. |
| Power Supply | Big cards need a lot of “juice” to run. | Look for a sticker on the side of your power box (aim for 600W+ for high-end cards). |
| The Slot | This is the card’s seat. | Look for a long, horizontal PCIe slot on your motherboard. |
Step 1: Safety and Grounding
You don’t need an engineering degree, but you do need to be careful with static electricity.
That tiny zap you get from walking on carpet in socks can actually fry sensitive computer parts.
- Kill the Power: Shut down the PC and flip the master switch on the back of the power supply.
- Unplug Everything: Pull the cord out so there’s zero electricity in the machine.
- The Metal Touch: Before you touch any parts, touch a bare metal part of the computer case frame. This grounds you and drains any static from your body.
Step 2: Out With the Old
Most cases have a side panel held on by two big screws at the back.
You can usually twist these with your fingers. Slide the panel off and set it somewhere where you won’t step on it.
If there’s an old card in the slot, look for a tiny plastic lever at the very end of the slot (it looks like a tab on a RAM stick).
Press that lever down, it works like the eject button on a toaster, and the card should pop right up.
If there’s no card yet, just unscrew the metal covers on the back of the case to make a window for your new ports.
Step 3: Seating the New Card
This is the big moment.
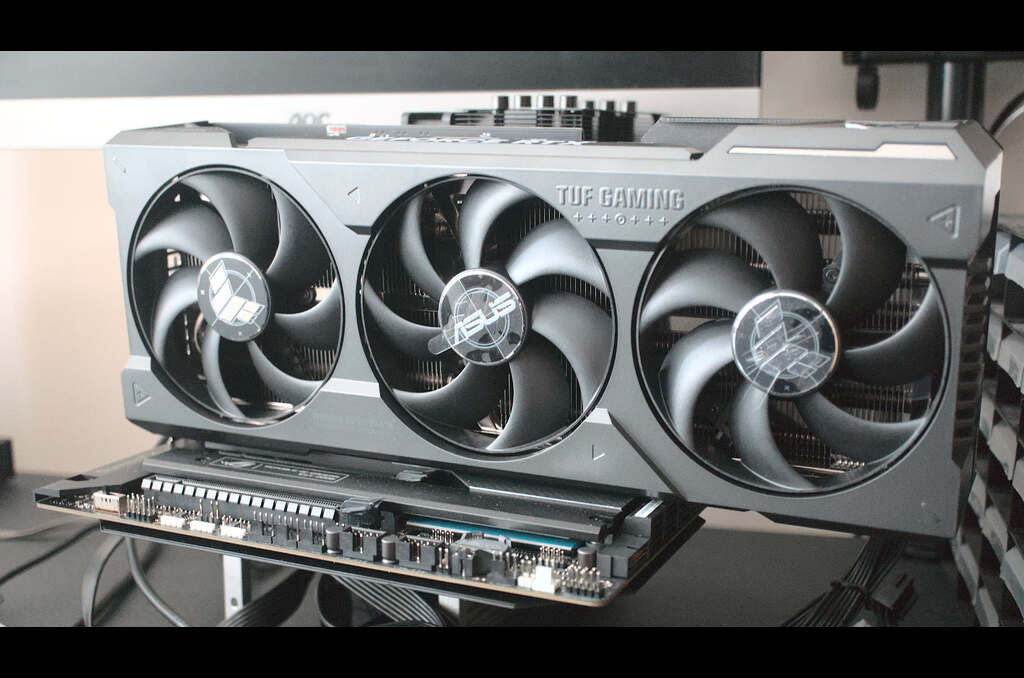
Hold your new high performance GPU by its plastic edges.
Try your absolute best not to touch the gold “teeth” at the bottom or the green circuit board.
- Line it up: Hover the card over that long PCIe slot.
- The Click: Push down with steady, gentle pressure. You’ll hear a satisfying click when the plastic lever locks it into place.
- Screw it in: Use the screws you removed earlier to bolt the metal bracket of the card to the case frame. This stops the card from sagging or wobbling over time.
Step 4: Feeding the Beast
High-end cards are power-hungry.
They can’t get enough electricity from just the motherboard slot. Look for cables coming out of your power supply labeled PCI-E. They usually have 6 or 8 small holes on the end.
Plug these into the side or top of your card.
Pro tip: If your card has two spots for cables, you must fill both of them, or the card simply won’t turn on.
Step 5: The Most Common Mistake
Once the case is closed and you’re plugging your monitor back in, pay attention!
Do not plug your HDMI or DisplayPort cable into the old hole at the top (near the USB ports).
Look further down where your new card is.
Plug the cable directly into the ports on the card itself.
If you use the old spot, your computer will ignore your expensive new upgrade and keep using the slow, built-in graphics.
Step 6: Teaching the Card to Talk (Drivers)
Your PC has a new “brain” for graphics, but it doesn’t know how to speak the language yet.
- Turn the PC on. It might look a little blurry or low-res at first, don’t panic!
- Go to the NVIDIA or AMD website.
- Search for “Drivers” and download the one that matches your card’s model name.
- Run the installer and restart your computer. Suddenly, everything will look sharp, colorful, and incredibly fast.
Final Thoughts: Enjoy the View
You did it!
It’s normal to feel a bit nervous when opening up a PC for the first time, but you’ve just successfully upgraded your digital life.
Whether you’re diving into a high-definition game or finally finishing that 4K video project, your machine is now ready to shine.
Go ahead and turn those graphics settings up to “Ultra”, you’ve definitely earned it.
If you’re still on the fence, remember that a high performance GPU is the single best investment you can make for a modern computer setup.


